For my group project (Cuppa Team), I worked on modeling the Asteroids that would feature in the game. Firstly, I created a Moodboard in research for this.

I designed the texture in Photoshop by selecting two dark colours. I then went to the filter window > Render > Clouds so that the two colours blended together in the background.


After that, I then added noise (also found in the filter window) by 1%. This makes the image appear grainy. I then switched to the Alpha Channels.


There, I added another layer before Rendering > Difference Clouds for around three times until the image appears dispersed and not so closely knit. I then once again added noise by 1%.


In the Edit window, I clicked on the Faded Add Noise with 50% opacity so the strength of the image was lessened to blend better.


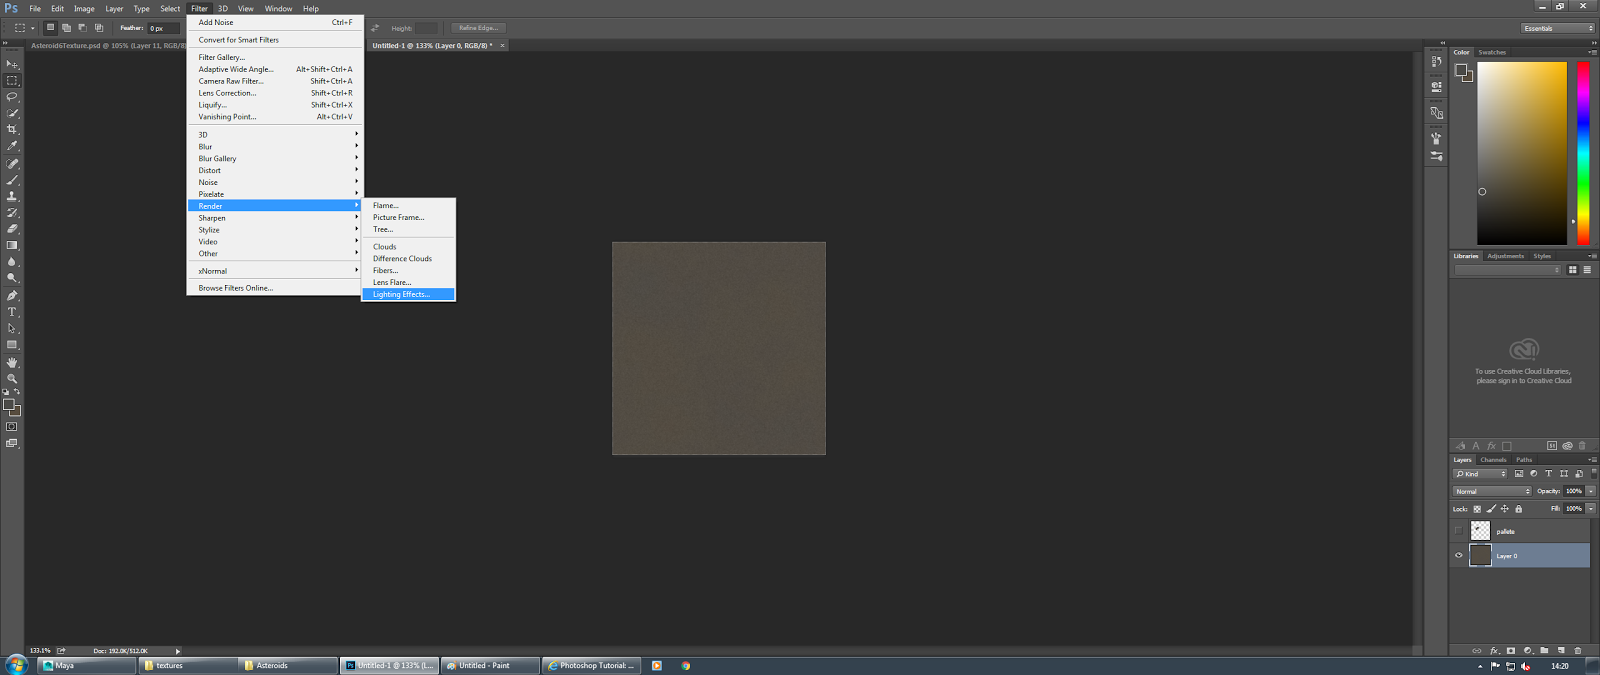
Going back to the layers, I rendered with lighting effects and toggled with the lighting so that there was a delicate balence of light and dark on the image. I also made sure the texture was at Alpha 1 with a height of 5.

I finished this off with simply modeling a regular Asteroid that started out as a cube polygon, shaped it slightly before adding on this texture in a new lambert. At the bottom is the fully rendered texture that I made.


I went on the making several Asteroids as a test run. All varying in shapes and size.


No comments:
Post a Comment