Thursday 10 December 2015

3D Art Production Workshop Tutorials

In the weeks that went by, I had tutorials to help me through Maya, such as UV editing and Sculpting


Monday 7 December 2015

Life Drawing 9

This session mainly focused on the anatomy of our model. We started off with some warm up sketches.


We then labelled the skeleton parts of the body as accurately as possible, before we view pointed certain parts of the body and detailed them out.


Anthropomorphic Frog

The next Visual Design lesson focused on Anthropomorphic concepts, and we were given the task to design one based on a frog. The colours I went for were sampled from textures of real frogs.
I again started off with a moodboard.


I drew out a couple of silhouettes I could work with, before adding line art to them


Below is my final design, which I used actual skin texture to colour my character with. Originally, the shadow that grounded my character was much dark, so I went over it again to lower to opacity.


Monday 23 November 2015

Tank Perspective

Following the perspective drawings, my next assignment was to create a tank themed vehicle. I also learnt about lighting in perspective.
I firstly drew out my designs in my sketchbook and worked on my mood board.


Then started developing it in Photoshop before colouring it in. 


Again I worked on using perspective in Photoshop with my tank.


I wanted to go for something a little more futuristic when finalizing my design and highlighted with neon like colouring. I feel I still need more work on my perspective, as the circle exhausts near the back of the tank don't quite fit the perspective.

Friday 20 November 2015

Life Drawing 7

For this Life Drawing session, there was a lot more focus on perspective. We started off with a warm up of 3 minute sketches.

Afterwards, I focused more on the perspective of the squares surrounding the figure to help with my perspective.


I then draw around the model, focusing on the negative spaces and turning them into a silhouette.


Monday 16 November 2015

Sci-Fi Room Perspective

Using what I had learnt about perspective and the Pen Tool in Photoshop, I tried my hand at developing my own using the Sci-Fi theme. By firstly gathering inspiration on a mood board


I then constructed the scene out on Photoshop. Perspective is still quite tricky to me, but some of the techniques I have learnt before did help.


Sunday 8 November 2015

Tentacle Monster Concept Art

Concept art with the theme of Tentacles. I was set to create several designs before coming up with the final one in colour. As usual, I started off with a moodboard consisting of real life and fictional depictions.


I studied their anatomy first, before I wanted to choose something that was combined and mythical, starting with the Basilisk.


 A skull was added in shape to conceal the monsters identity, and it has multiple smaller tentacles with sharp talons at the end. Otherwise this creature is pretty slime like, and the end larger tentacle is its tail. The canvas I used here turned out to be too small and made my final outcome unfortunately blurry, but I had fun doing this brief nonetheless.


Wednesday 4 November 2015

Perspective

For this lesson, I studied perspective using Photoshop and analysing architectures in pictures, finding the horizon line and roughly finding the lines in which makes the structure of the buildings with the pen tool. I found it an efficient and quick way to better understand perspective, and hope to use this method in the future.


Tuesday 27 October 2015

Visual Design - Zombie

Supporting the Halloween theme that was drawing near, in this lesson I learnt about applying different kinds of textures to a pre-made model to make them appear like a zombie. I was first given the body template before adding the different textures on separate layers.


On Photoshop, I used the modes multiply and overlay to make some of the textures appear realistic.


Once that was done overall, I then reloaded this newly made template on another pre-made model on Maya that was animated to walk like a zombie.


Thursday 22 October 2015

Life Drawing 5

In my next Life Drawing lessons, I did more practise on sketching in motion, drawing fluid and much quicker lines to follow the movement of the model. 


Afterwards, I tried something different, in which we did the opposite of what we had been doing usually. By covering up the entire sheet in charcoal, using an eraser and my own fingers, I added light to the figure, slowly exposing the contours of the body. 


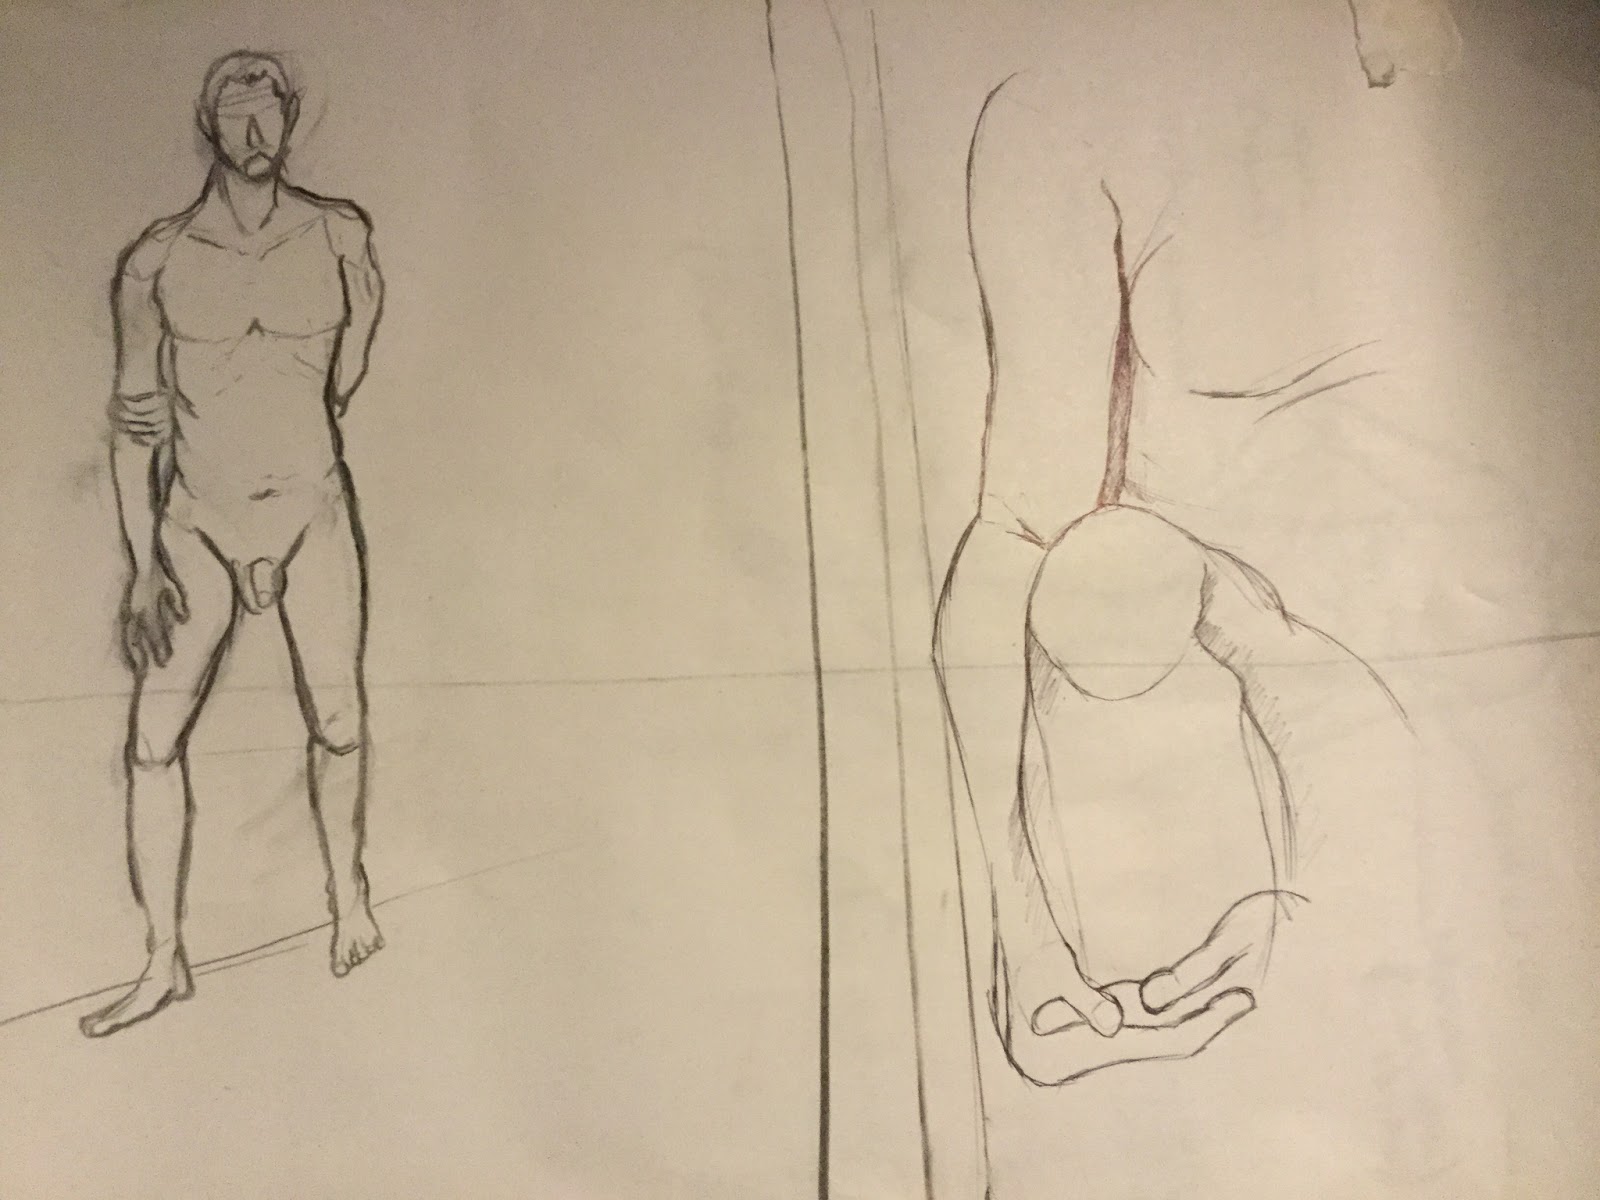
Finally, dividing a sheet I used two different mediums to draw with, pen and another pencil, then saw the difference between them. I much preferred the pencil, as I felt too restricted with the pen.


Wednesday 21 October 2015

Visual Design - Lava Technique


In this lesson, I learnt how to realistically draw lava textures in Photoshop. It was blend of bright colours, mostly yellow, orange and red (with some white) to get a very fiery effect. How ever, I also learnt how much easier it was to do if the inner and outer glow was changed on the pen so it was draw out fluidly, and with a texture provided. I was given to try this out on an image already cropped out of a rock creature, to design it in a way that made it appear it was made out of lava. Exposure and levels were also adjusted to make the creature stand out.


In the end, I was made to design a creature similarly to that of the one above, and came up with an idea of a underwater shark. It was firstly done with in silhouette before drawn over with the lava texture and some airbrush tools.

Shiny Master Sword - The Legend Of Zelda